


For the second part of this Rainbow Six Siege Operator's Guide, let's talk about four other characters from the base pack, but belonging to the American unit of the FBI Swat. While the SAS are valid operators for both novice players and experts, the Americans are operators with conceptually simple mechanics, which however require more experience and skills to be used at their best.
Ash (forward)
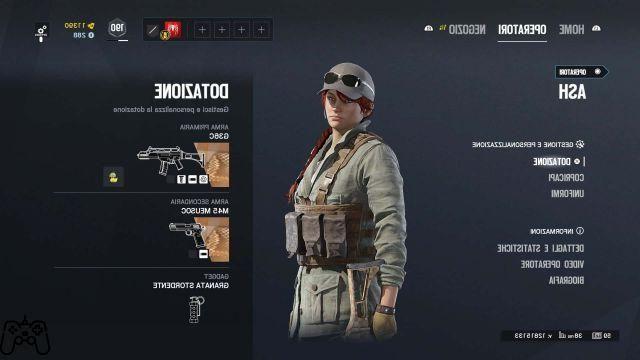
Ash is an operator who makes speed and quick reflexes his raison d'etre. Being a fast operator, equipped with good performing weapons, her main role is to put pressure on the defense, trying to win the gunfights before the defenders can respond.
To better understand Ash's role, it is necessary to see her as a sort of ram that breaks through enemy lines, destroying the obstacles that prevent the entry of his allies. To this end, he attaches a lot to his primary gadget, an explosive projectile that can destroy obstacles, gadgets and unreinforced walls.
As regards the tactical part, Ash does not generally require a lot of knowledge and perhaps on this side he is together with Sledge one of the most accessible operators. What is required instead (precisely because of his role as a ram) is a good dose of aim and quick reflexes, to take full advantage of everything he has to offer.
As for weapons, Ash is equipped with two good assault rifles, namely the G36 and the R4C. For the first three years, almost all of the players saw R4C as the undisputed choice, although with the start of year four things have changed a bit. The G36 has always been slightly lower in stats than its counterpart, which convinced the developers to remove the ACOG scope from the R4C to balance the two weapons.
In fact, the idea of the developers is that if players need an ACOG viewfinder then they have to compromise with the G36, otherwise they can take advantage of the slightly superior R4C for close combat. Ultimately, both weapons are valid alternatives, as long as you choose the one that best suits your style of play and your needs.
When it comes to Ash's secondary gadget, it's always handy to bring stun grenades to flush defenders from their safe places, or attack them while they're dazzled. If you want to carry out some socially useful task for the team, you can use Ash's break-in ammunition to destroy Castle's barricades, or Maestro's Evil Eyes. In case Mira is present in the defense it is possible in some maps to explode the floor under one of its black mirrors and then open it from the floor below with a simple shot from a rifle and thus neutralize the Spanish defender.
Thermite (attacker)
The most basic combination of operators to be found in this game is perhaps Thatcher and Thermite. These two operators together are considered to be the worst nightmare of any reinforced wall (or trap door), as after the first eliminates any electronic obstacle, the second can use its exothermic charges to detonate the reinforced wall and create an opening. entrance.
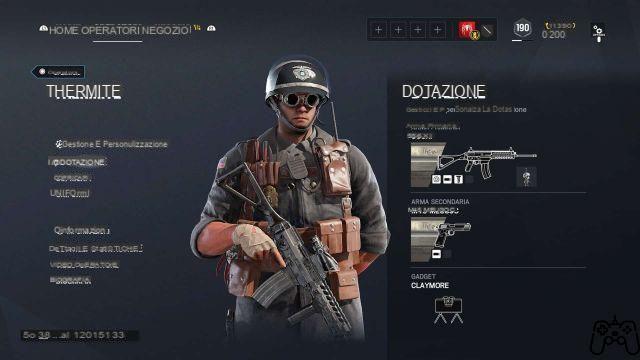
Before going to expand on this concept, let's take a step back and examine Thermite's weapon (given its uselessness in attack the pump is always not recommended). The 556XI is Thermite's only assault rifle, but thankfully it's a great shotgun. With little recoil, high damage and a decent rate of fire, we are talking about a very solid weapon for all types of players.
The operation of exothermic charges is very simple. Once placed these charges have the function of destroying the reinforced walls, with the only defect that between activation and detonation a few seconds pass in which they are vulnerable. During this time the charges are susceptible to shells and explosives, but the most effective and sophisticated way to destroy them is to burn them.
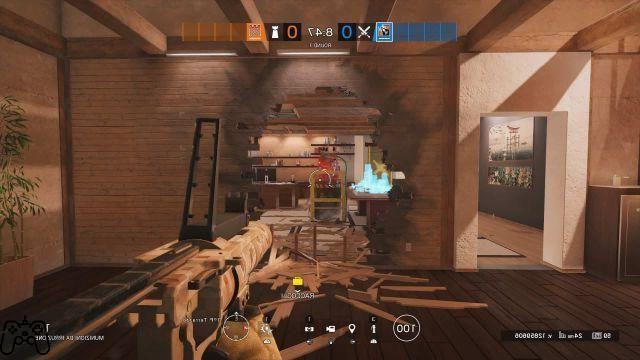
Burning an exothermic charge basically means destroying it by applying the electrical effect of a defensive gadget to the reinforced wall, before it completes its detonation. (This technique is known as Bandit Trick and in the photo below there is an example from the side of the Thermite). To counter this tactic, first of all you need to use a drone to check the presence of the opposing Bandit in the vicinity of the wall, if so you need the coordination of the team to proceed.
A first way to counter Bandit is to attack from the upper floor (alternatively the one below), destroying the floor above the wall with Zofia, Buck, Ash or Sledge and then either kill Bandit or force him to retreat. If this first method is too risky, there is a safer alternative, but one that requires more coordination.
First you need to throw Thatcher's EMP grenade to destroy any Jaeger's ADS, then place the exothermic charge on the wall closest to the drone hole and thus force the Bandit into the same position. At this point, a companion who throws a grenade into the hole of the drones with the right timing is enough to blow up the unfortunate Bandit.
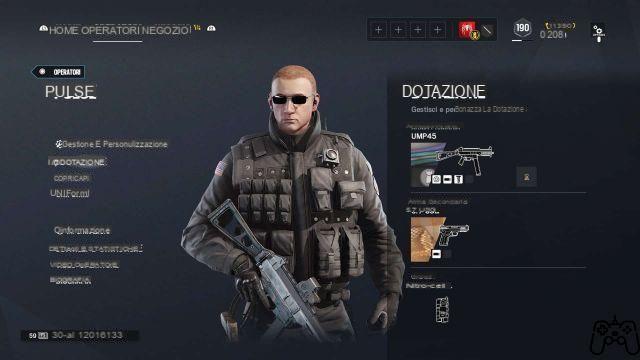
Pulse (defender)
Pulse falls mainly into the category of operators dedicated to gathering information, even if its kit allows players to have fun and be creative more than you might think at first glance, provided you know the maps properly.
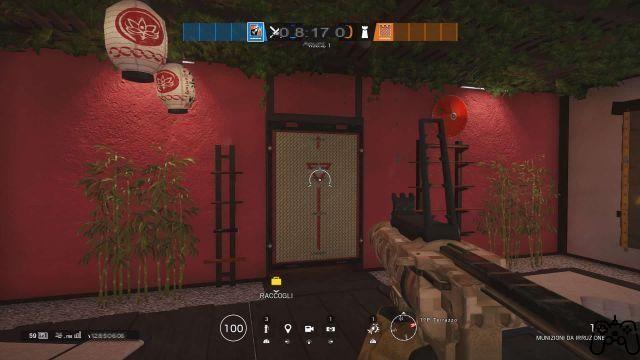
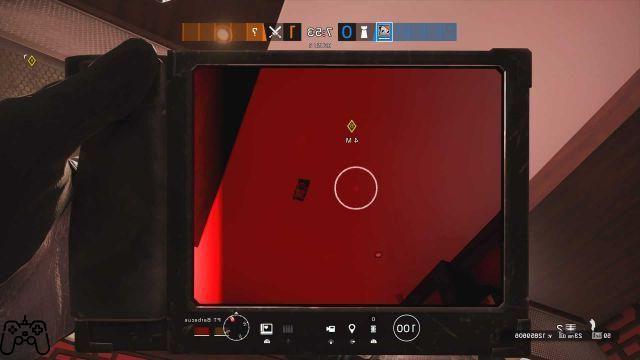
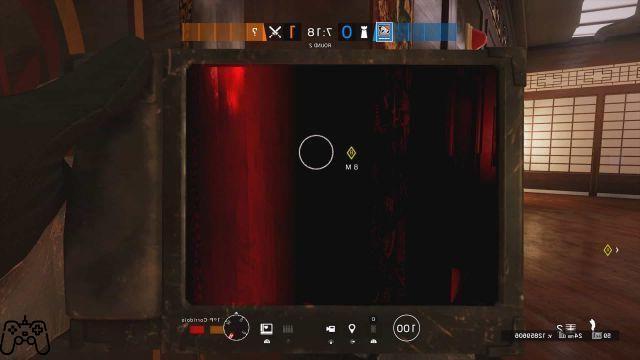
Pulse's primary gadget consists of a sensor which, when pointed at an opponent's generic position, detects his heartbeat and provides his position, as long as he is within range of the sensor. At this point the creativity and knowledge of the players come into play, which can properly exploit the sensor beam (which also detects beyond the walls), not only to provide information to their allies, but also to eliminate opponents from unexpected places.
For example, you can use the sensor information to blast the floor below the opponents with a well placed C4, without being punished for your aggression, or with the help of Jaeger and his ADS you can place yourself under a window and launch the C4 when the enemies are close enough. As fun as it can be to blow up enemies, another idea can also be to use Pulse's firearms to hit them through a wall. Ultimately as long as you know the structure of the maps well, with Pulse you can take a lot of creativity to counter enemies from safe positions.
Moving on to the Pulse arsenal we first have an MP5 submachine gun. It is not a very brilliant weapon in terms of statistics and with a magazine of only twenty-six rounds, but with an almost non-existent recoil and excellent for those who prefer a reliable weapon with which they can easily perform headshots.
The other choice is the Swat shotgun, one of the weakest pump in the game, but with Pulse it has its own reason, especially with a view to accompanying the heart sensor to eliminate opponents through surfaces. Performing some Pulse tactics with the pump is much easier than with the MP5, but you lose effectiveness in fights that go beyond short distances, so the choice depends more on the preferences of the player.
Castle (defender)
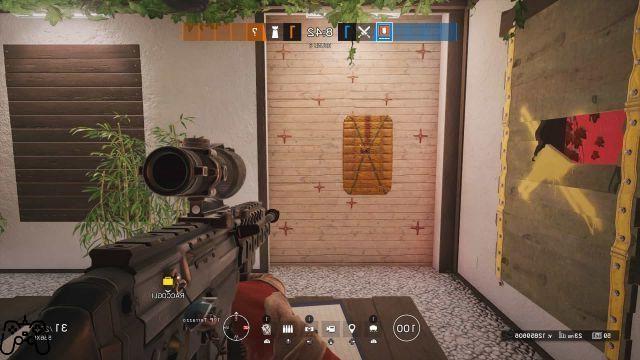
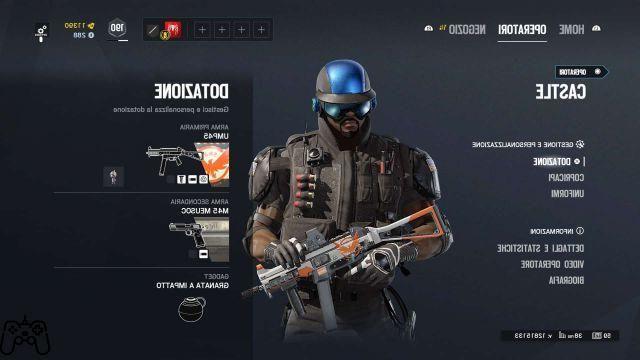
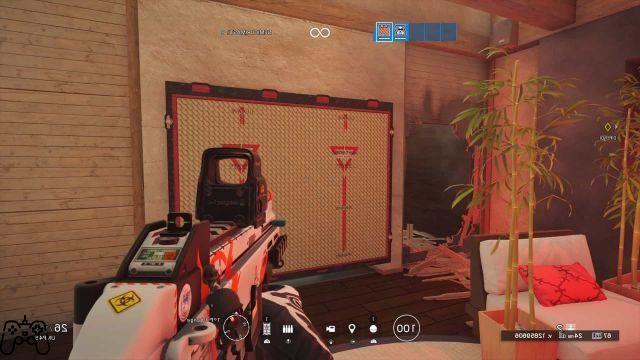
Castle is an emblematic operator to understand how different the level of casual play is, compared to the organized one of competitive teams. How it works, Castle's gadget is of a disarming simplicity, in fact the American defender can place in front of doors and windows, instead of the usual wooden barricade, some bulletproof barricades, of which he has three.
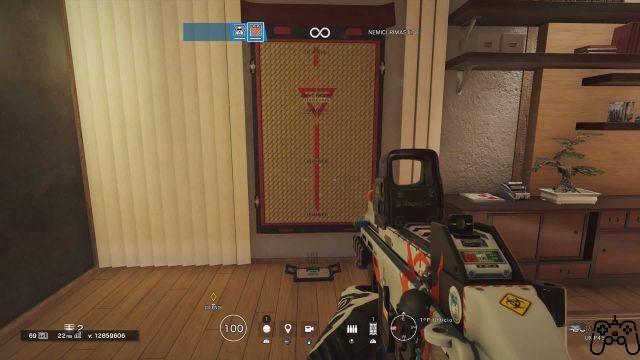
Although on balance his gadget is very simple to understand, using it at its best is a whole other ballgame, as it requires a great level of coordination with your team. The reason for this is soon said, as Castle can prevent access to any operator not equipped with explosives (or the patience to hit the barricade with twelve melee shots), but it can also make it more difficult to pass his own. allies.
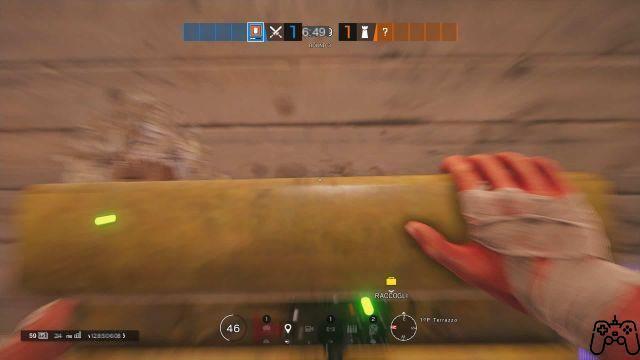
To remove the barricade of an allied Castle you must necessarily perform the full animation, or throw an explosive at you, making a lot of noise, and then eventually have Castle reapply his barricade. This highlights how for an outside player forced to return to the goal at speed and perhaps silently, having the path blocked by a Castle barricade is not exactly the best of life.
Now it becomes clearer why, in a disorganized team, Castle is an almost harmful choice, while in a team with well-defined strategies it can provide a huge tactical advantage. The advice I can offer is to use Castle only if you can communicate with your team and only if you have some specific tactic to use it, perhaps having learned some tricks from more experienced players.
We finish with weapons and a little warning for Castle. For the former there is not much to say as they are the same weapons as Pulse, while for the secondary gadgets both the impact grenades (useful for creating holes and being able to change the lens), and the bulletproof camera (for procure information) are valid choices.
As for the warning, it is always advisable to be careful when you intend to apply bulletproof barricades to the windows. If this strategy is adopted, the opposing team could have a Fuze who, with his cluster grenades, is the worst enemy of the American defender. Not being able to counterattack the Russian attacker's gadget due to the properties of Castle's barricades, the only way to counter it is to use Mute's Jammers to prevent it from activating, or Jaeger's ADS to block as many grenades as possible.
Videogamingallday.com Help Did you like the article? Share it!


